Tree Planting & Care
All About Trees

Caring for your Little Sap is easy. Whether your Little Sap comes in a drawstring sack or a decorative pot, it will need a new home as soon as you can give it one.
Little Saps can be planted outside in a container or in the ground. Whether you decide on a container or in the ground will depend on your home, the time of year, and the size of your Little Sap.
Read below for best practices, step-by-step instructions, and other tips and tricks.
Tree Planting Best Practices
To help your Little Sap gift tree thrive, keep it outside, give it a new home as soon as you can, and make sure you read the instructions below before planting your tree.
-
Keep your tree outside until planting
Little Saps gift trees can live inside for a couple of days, but in order to survive, they need to be outside as soon as possible.
-
Give your tree a new home soon
Whether they came in a bag or decorative pot, Little Saps gift trees will need a new home as soon as you can plant them.
-
Read the planting directions
Little Saps gift trees are not houseplants, perennials or annuals. Planting a tree is not difficult, but they have different needs.
Step-by-Step Instructions for Potting Your Little Sap Gift Tree
You can plant your Little Sap in a container any time during the year. Planting in a pot helps it grow a little bigger before it has to compete with other plants, shrubs, and weeds in the ground. As long as you plant it in a bigger container as it grows, you can keep a Little Saps gift tree in a pot for many years. Little Saps trees are not houseplants, even in a container they need to be outside.
-
![]()
Pick the Perfect Pot
Find a pot with a drainage hole. The pot should be about 1 gallon, depending on the size of your tree seedling.
-
![]()
Mix Soil and Mulch
Use a soil mix of 1/2 potting soil and 1/2 pine bark mulch or a similar formula created for trees.
-
![]()
Find a Spot Outdoors
Place container in a sunny area outside, even in winter. Put trees in a protected area outside in extreme cold.
-
![]()
Water When Dry
Water occasionally when the soil is dry. Depending on your area, most potted trees can be watered by rain.


FAQs for Planting your Little Sap in a Pot
-
Plant your Little Sap in a container with drainage holes and plenty of space for the tree to grow. Usually a 1 gallon pot will work just fine. If you are worried about drainage, you can add some rocks or pebbles to the bottom of the container.
Knowing that your tree will grow much bigger, it is tempting to start with a huge pot. But if the pot is too big, the water will not drain fast enough for the tree’s root system and the roots will rot.
So, choose an adequately sized pot, but not too big! A good rule - choose a pot that is twice the width and depth of the root ball.
-
Use a planting mix that is 1/2 regular potting soil and 1/2 pine bark mulch or a mix specifically formulated for evergreen trees. It is important that whatever mix you use provides good drainage. Regular potting soil is too dense. Consider adding some slow release fertilizer to keep your tree healthy and growing strong.
-
Create a hole large enough for the soil plug, center the plug, and gently press soil around the base of the seedling so that the seedling is stable and can stand upright on its own. Keep the soil around the roots loose, so that the roots have room to grow and water can get to them. Also make sure the trunk of the tree is sitting above the soil line.
The base of the trunk should be level with the rim of the pot, not below it. if the tree is sitting below the rim, there is a greater chance for water to pool and rot the trunk.
-
Make sure to give your little tree a thorough watering when you first plant it. After the initial watering, water when the soil is dry. If the roots sit for a long time in too much water, they will rot.
-
No, your Little Saps needs to be outside, even in the winter! Place the container in a sunny location outside.
During the winter in cold climates, your tree will go through a period of dormancy, a natural stage in a tree's yearly life cycle that gives it a chance to rest and rejuvenate. If your tree is small, you can keep it in a protected area during times of extreme cold, but it needs to be outside so that it can go through its natural life cycle.
-
As your tree grows, you will need to transplant it into a larger container or plant it outdoors. You can plant a containerized tree outdoors in the ground in the spring, summer, or fall (see outdoor planting instructions). Depending on the soil mix and how long you plan to keep it in a container, you may need to add a slow release fertilizer at planting or at some point in the future.
Video: How to Plant your Little Sap in a Pot
Little Saps owner, Carrie McClain, explains how to plant your Little Sap gift tree in a pot.
Step-by-Step Instructions for Planting Your Little Sap in the Ground
You can plant your Little Sap in the ground when the ground is not frozen, so generally during the spring, summer, or fall. Remember, your Little Sap can grow 40-70 ft, so use a spot away from your house. We recommend learning more about the variety of Little Sap you received to decide the best location.
To start, visit our tree types page.
-
![]()
Choose the Location
Choose a sunny location where your tree will have plenty of room to grow. Little Saps trees can grow 40-70 feet tall.
-
![]()
Dig a Good Hole
Dig a hole that gives the roots a chance to spread out and allows the plug to sit 1/4 to 1/2 inch below the ground.
-
![]()
Soak Well with Water
Soak the area with water. In the tree’s first year, water during dry weather. Soil should be moist, but not soggy.
-
![]()
Add a Layer of Mulch
Add a protective layer of mulch around the area, but not touching the trunk so that the trunk can dry.
FAQs for Planting your Little Sap in a Pot
-
Choose a sunny location where your tree will have plenty of room to grow. All of our Little Saps can grow 40-70 ft tall.
The team at Little Saps chooses the variety of tree to send based on the growing zone it is being shipped to, but it is up to the recipient to determine how and where to plant their Little Sap. We recommend learning more about the variety of Little Sap you received to decide the best location. To start, visit our tree types page.
-
Prepare a hole that gives the roots plenty of room to spread out. Fill the hole half way and center the root plug, making sure the root plug is 1/4 to 1/2 inch below the ground surface. Using some soil, secure the tree in an upright position, then fill and firmly pack the hole with the original soil.
Soak the area well with water (you can create a water basin with soil around the seedling to keep the water in). Once all the water soaks in, add a protective layer of mulch around the area, but not touching the trunk.
-
In the first year, make sure to keep the tree watered during dry weather. The soil should be moist, but not soggy. But as it grows, you shouldn’t have to do much! If it looks like there is something wrong with your tree, call your local tree expert.
Care for your Little Sap by Packaging Type
Little Saps in a Drawstring Sack
Little Saps that come in a drawstring sack are shipped in a plastic bag to help retain moisture, however, the moisture will not last forever! As soon as possible, you need to give your seedling a new home - outside in a pot or in the ground (see planting instructions above). Until then, water your Little Sap when the root plug is dry.
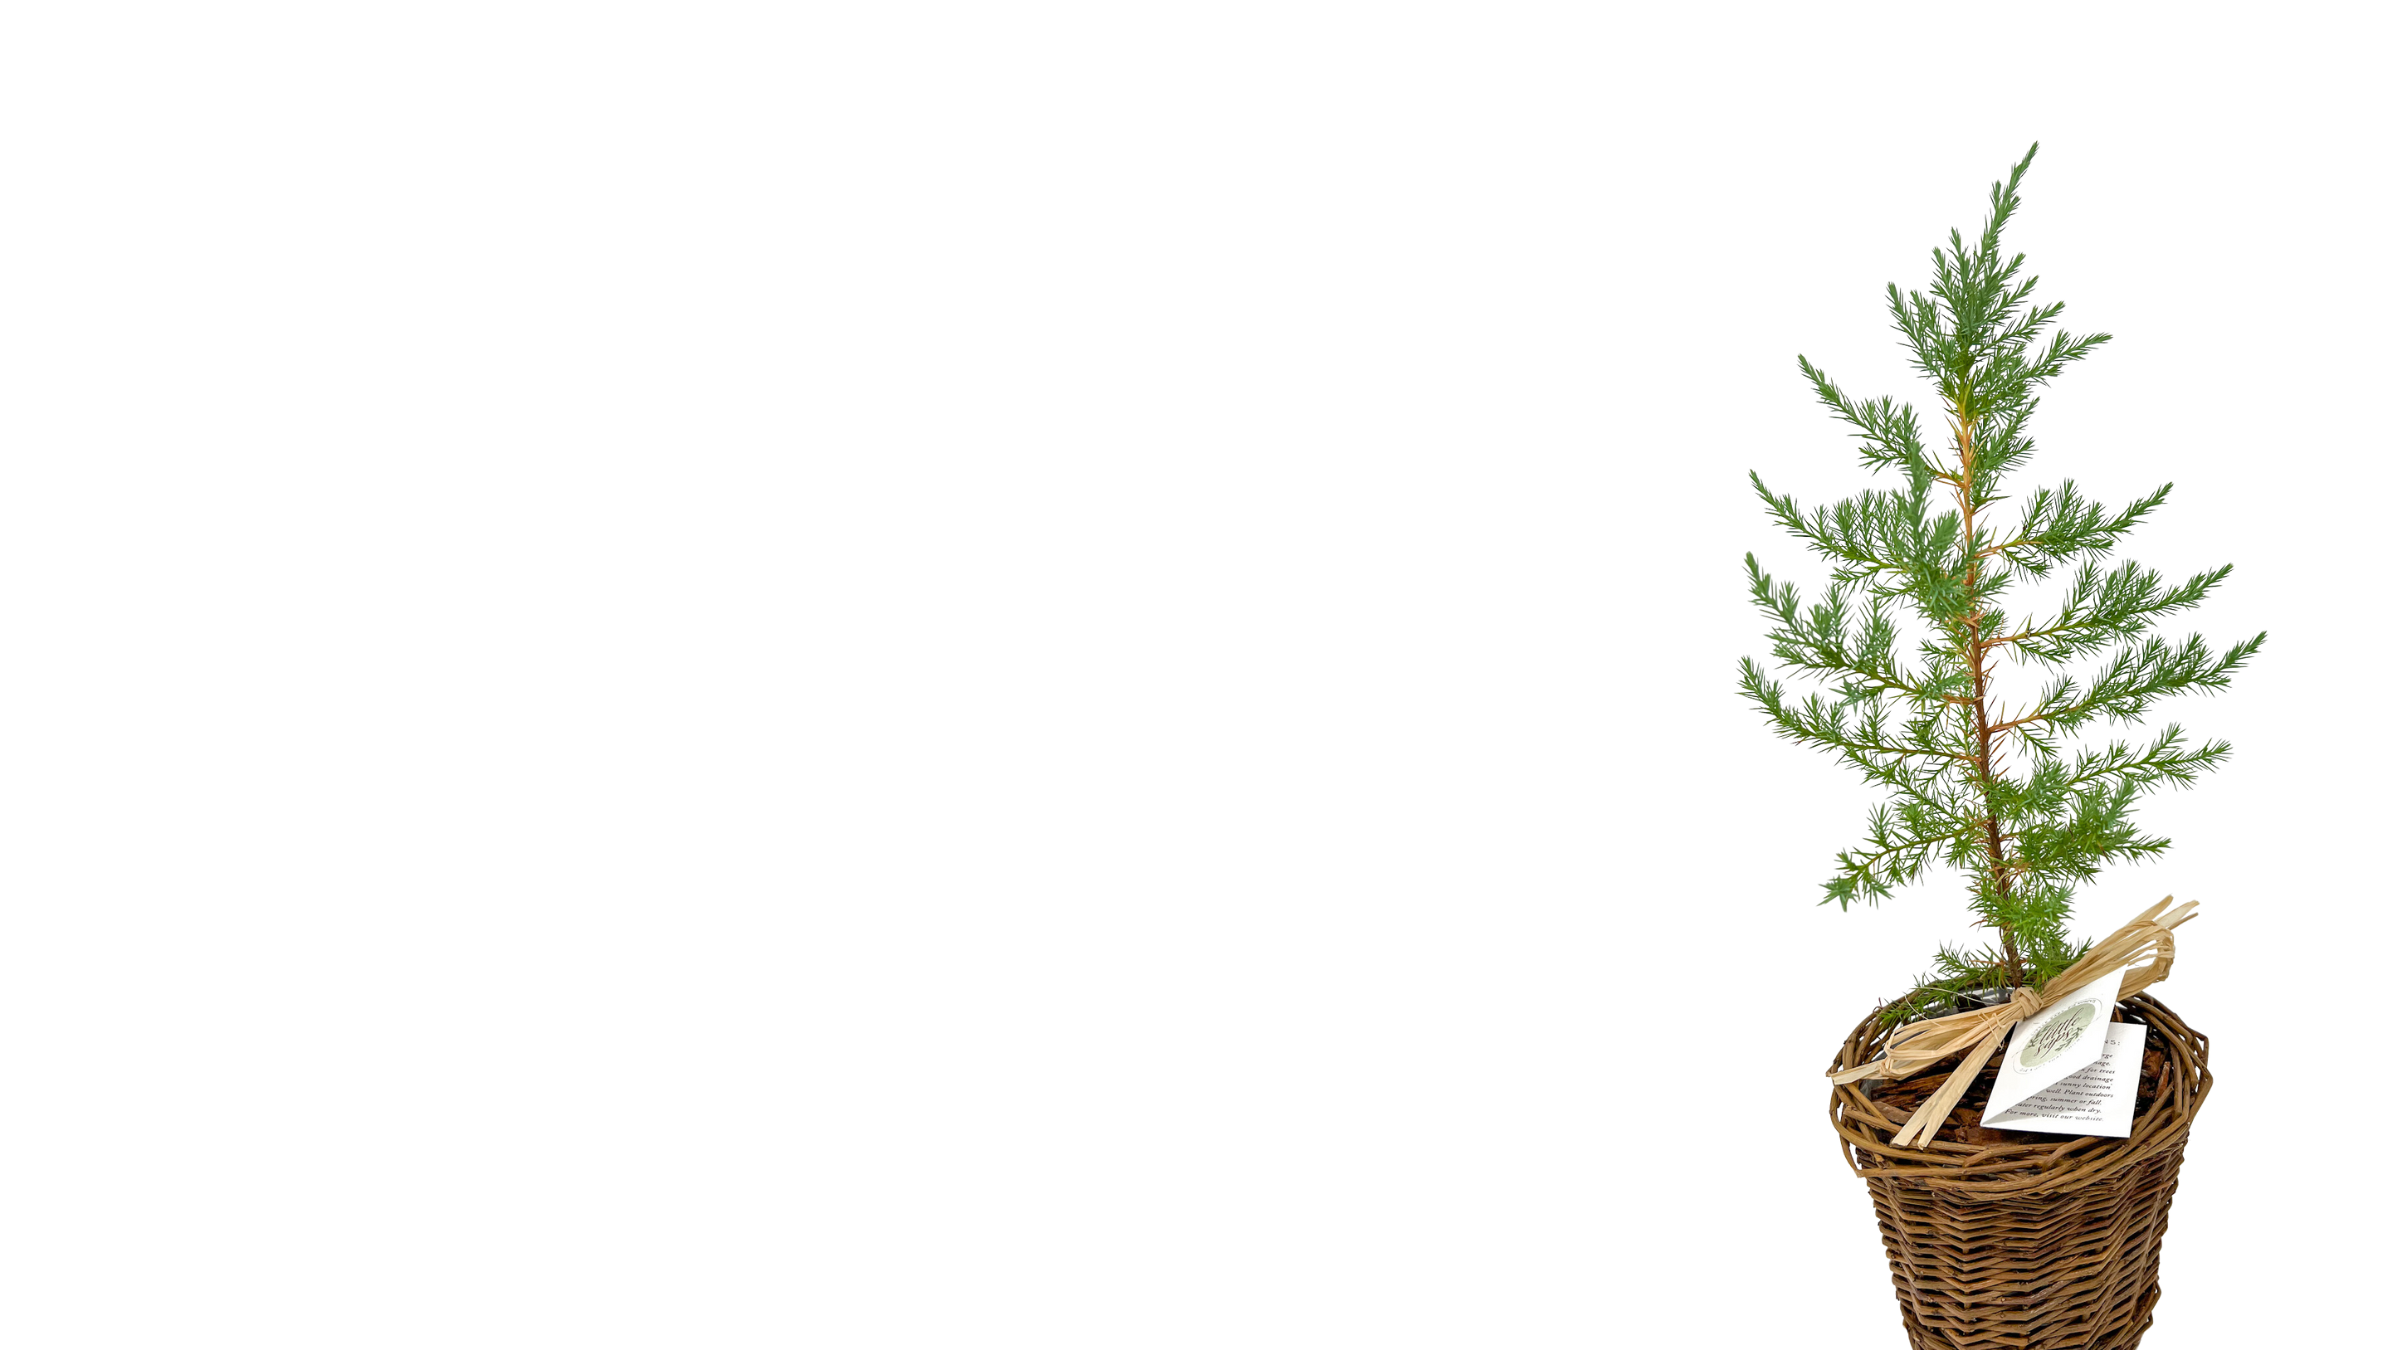
Little Saps in a Decorative Pot
Little Saps that come planted in a decorative pot can remain in the pot outside for a few weeks. If the tree is entering or in the midst of a growth period (spring, summer and sometimes fall), it will want more space as soon as possible (see planting instructions above). While your Little Sap remains in the decorative pot, water it when the soil is dry, but not too much. Our decorative pots do not have drainage holes and you do not want the tree roots to sit in soggy soil for long periods of time.
Holiday/Winter Little Saps
We love that so many people enjoy having our Little Saps in the home for the holidays. They make a fun, unique, and memorable holiday decoration. If you want to plant your Little Sap after the holidays are over, please keep the following in mind:
Little Saps come in a decorative pot, but it is not a permanent home (see care instructions above). If the ground is freezing, they can be planted in a container until spring (see planting instructions above).
During the winter months, Little Saps should not be kept indoors for more than five days. They need sunlight and do not do well with extended periods of dry heat.
Little Saps need to go through a period of dormancy or winter rest (triggered by colder temperatures) that is essential for their well-being, so they should eventually be put outside or in an area with sunlight, but no heat.
If the weather outside is freezing, trees need to be acclimated to the outdoors. After planting them in a container, put them in a garage or protected space for 10-14 days where they can still get sunlight, but can get used to colder temperatures, then transition them to outside.
All of our varieties have a “winter color” that is different from their spring, summer, and even fall color. It’s a natural process while the tree is “sleeping.” Some varieties of Little Saps like American Arborvitae or Eastern Red Cedar will turn a reddish-brown in cold weather as juvenile trees. To learn more about our tree types, visit our tree type page.